From rapids and canoeing to experiencing untamed nature firsthand these are just some of the things you’ll experience on your Whanganui Journey in New Zealand.
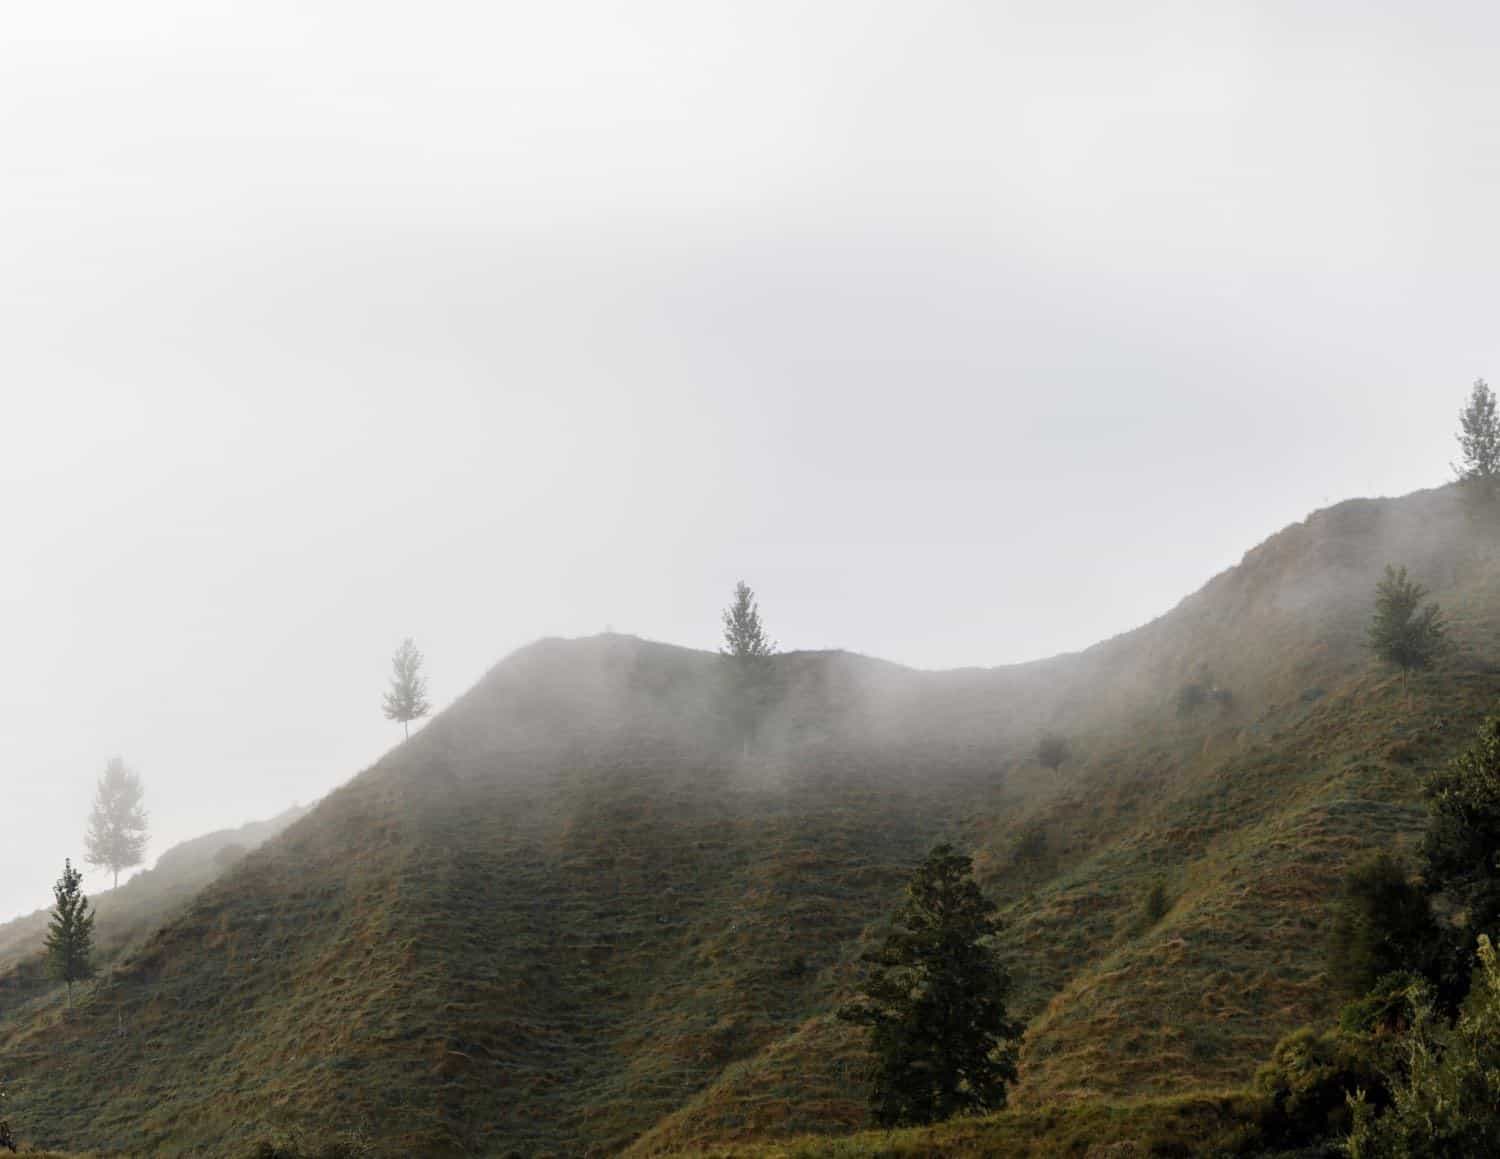
New Zealand has become a mecca for outdoor adventurers.
We’ve never been anywhere in the world where it’s so easy to get out into the wilderness independently.
Want to canoe down a beautiful and remote stretch of river for five days without a guide? Sure.
No experience in canoeing? No worries – the person you rent the canoe from will give you a few pointers before you set off. Sounds like your kind of adventure?
Here’s everything you need to know about paddling the Whanganui Journey, one of the nine Great Walks of New Zealand.
Don’t miss out on our complete guide to the best hiking in New Zealand!
Introduction To Paddling the Whanganui Journey
Set in the heart of the North Island, the Whanganui Journey is a 145 km canoe trip down the Whanganui River.
The Whanganui Journey gained Great Walk status for being a significant Maori journey and it’s the only Great Walk where you can stay in a Marae (a traditional meeting ground and focal point for Maori communities).
Whilst the full 145 km journey takes five days, if this sounds like it’s a bit much you can paddle the most beautiful section in just three days (a total of 87 km).
There are a variety of huts and campsites (and even one lodge) that you can stay at along the Whanganui River Journey. You’ll also get to enjoy the scenery of Whanganui National Park.
If you like solitude you can choose campsites in Whanganui National Park that differ from the main route that most people take, which we’ll outline below.
There are a few companies who can organise everything including canoe hire, dry barrels for all your clothes and food, transfers to and from the ‘track’, and a full briefing on the route and conditions on the river.
Whilst the Whanganui River has a couple of notorious rapids (one nicknamed the 50/50 for obvious reasons) on the route it’s possible even for beginners to manage the full five days.
Until the Whanganui Journey, the longest we had ever kayaked for was two hours, so we definitely believe it’s possible for anyone with a sense of adventure to manage.
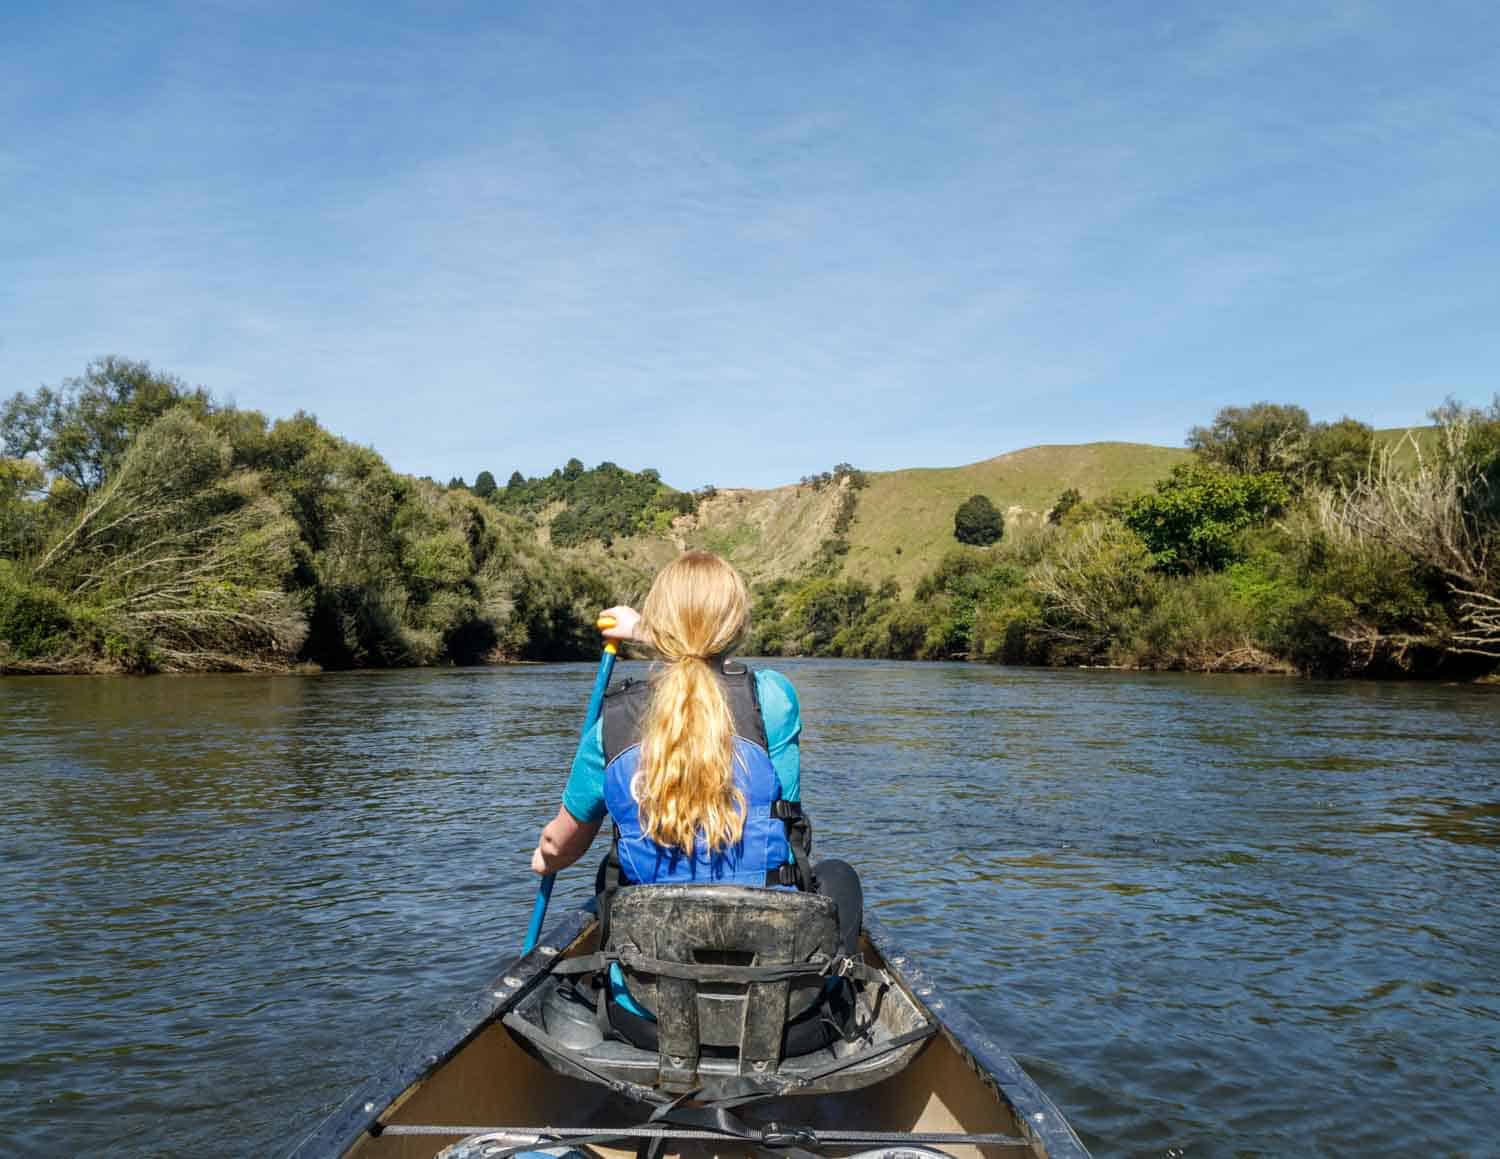
The majority of the Whanganui Journey is on flat, placid water or small rapids and you spend about five hours paddling per day.
You soon get into a steady rhythm and the time goes quickly as you take in the views on the Whanganui River and enjoy a truly unique experience.
Whanganui Journey Overview
Days required: 3 – 5
You start from Taumarunui to do the five day version, or Whakahoro for the three day version of the Whanganui Journey.
Best Time To Do The Whanganui River Journey
The New Zealand summer is the best time for warmer temperatures and more stable weather (some companies stop operating in the winter, if you fall in it’s going to be freeeezing).
We’d recommend avoiding school and public holidays as they can get busy.
The official Great Walks season runs from 1st October to 30th April.
Costs
Costs for the Whanganui Journey can vary depending on which company you use. But – like most of New Zealand – it isn’t cheap.
Canoe hire starts at $190 NZD per person for the three day version and $205 NZD per person for the five day version (this includes barrels, transfers, life jackets, paddles, emergency beacon, maps and a briefing).
Accommodation
Most people stay in the DOC administered campsites and huts, although there are two lodge options for your second and fourth night if you choose.
The huts and campsites are fairly basic, with the campsites offering running water (which needs to be purified) and long drop toilets.
The huts offer these as well as gas stoves and bunks.
The cost is between $20 – 32 NZD per person per night (with camping being the cheaper of the two) between October and April.
If you want to treat yourself on the last night of the Whanganui Journey there is also a gorgeous lodge with hot showers and free homemade muffins.
We were so happy that we decided to go for a bit lux after four solid days paddling, two of which had been in torrential rain.
Less people know that you can also stay in the Blue Duck Station on night two if you would like a private room.
Make sure you have a high-quality, lightweight backpacking tent with you for camping during the Whanganui Journey.
Food
There are a couple of cafes along the way (day one and two), but aside from that you will need to bring all of your food.
This can be packed in barrels that are tied to the canoe, you’ll need food that will keep outside of a fridge for up to five days.
We’d recommend cereal bars or porridge for breakfast, snacks for lunch and packet food like pasta for dinner (we enjoyed pesto pasta with cheese for dinner most nights).
Canoe Companies
Three companies can help with the logistics of the Whanganui Journey and there’s not much difference between them.
We chose Whanaganui River Canoes based in Raetihi, but alternatively, there’s Tauamrauni Canoe Hire in Taumraruni or Yeti Canoes in Ohakune.
Which company you choose may depend on which area you want to stay in before and after your adventure which was our reason for choosing Whanganui Rivers Canoes.
Rapids
The first two days of the Whanganui River Journey have a succession of pretty fast rapids, but there is only one where you might get thrown out.
We came close but managed to just about stay in, so falling out is still quite unlikely.
The third and fourth days are as flat as they come, minus one whirlpool at the beginning of day three.
We did see someone tip here but apparently this isn’t common.
The final day has exciting rapids. There are two at the very end of the Whanganui River Journey which are so bumpy that 50% of people come out of their canoe.
However, most of the faster rapids are narrow, meaning you can paddle to the side and avoid the worst of them if you want to (but then you’ll be missing out on some of the fun!).
What To Pack For Your Whanganui River Journey
- Rain Coats
- Thermals
- Food: Breakfasts, lunches, dinners, snacks, and tea/coffee
- Toilet Paper (none of the huts and campsites have this)
- Gas burner and matches for the campsites
- Drinking water – at least for the start. Afterward you’ll need to boil some water or use purification tablets
- A camping kitchen set – pot to boil, plate, cutlery, and mug
- A warm sleeping bag (even in summer it can drop to single digits)
- Battery pack to charge camera batteries
- Ear plugs/headphones – You haven’t experienced snoring until you’ve stayed in a DOC hut
- Sun cream and insect repellent
- Torch
- Rubbish bags – All that you take in, must go out with you
- Wet wipes – To keep a semblance of hygiene
The Whanganui Journey Itinerary
Day 1: Taumaranui to Ohinepane, 22km (about 3.5 hours)
Not too many people choose to do the five-day version, skipping the first two days and starting at Whakahoro.
This means you’re likely to have these stretches of the Whanganui River all to yourself, and that makes it pretty special.
The first day of the Whanganui River Journey is short, but it certainly lets you start with a bang.
The Great Walks guide describes it simply as “a day of rapids”!
We were novices when it came to canoeing, so were pretty nervous about even controlling the canoe, let alone navigating the rapids.
In the first four bends, you face two pretty turbulent rapids that throw you around, baptizing you in the Whanganui River.
After the initial bumps, things get a bit easier and more straightforward.
There are plenty of fast rapids on corners to keep the excitement up and you’ll do well if you don’t get stuck in the eddys (the other side of a rapid which flows in the opposite direction to the river, spinning you around).
It’s fair to say we spent a fair amount of time on days one and two spinning uncontrollably but always being spat out in the end!
The Whanganui River here is primarily through the farmlands and rolling hills, it feels like you’re gliding through Hobbiton.
It’s a fun stretch of paddling with some beautiful landscapes that are punctuated with some rapids for excitement.
A top tip is to look out for the lavender farm (there is a small sign) on the right-hand side of the Whanganui River, around 18 km in.
There’s a small sandbank to moor at and a stairway leading up to the farm.
They have a coffee shop here which makes for a blissful break.
They don’t accept foreign cards, so make sure you bring cash.
The homemade muffins were delicious.
After 3.5 hours of paddling you’ll make it to Ohinepane Campsite.
The local chickens are a little over-friendly and will be pecking around your tent most of the night before waking you up first thing in the morning! It’s a lovely spot though, with a small cooking area and toilet.
Day 2: Ohinepane – Whakahoro, 35km (about 5.5 hours)
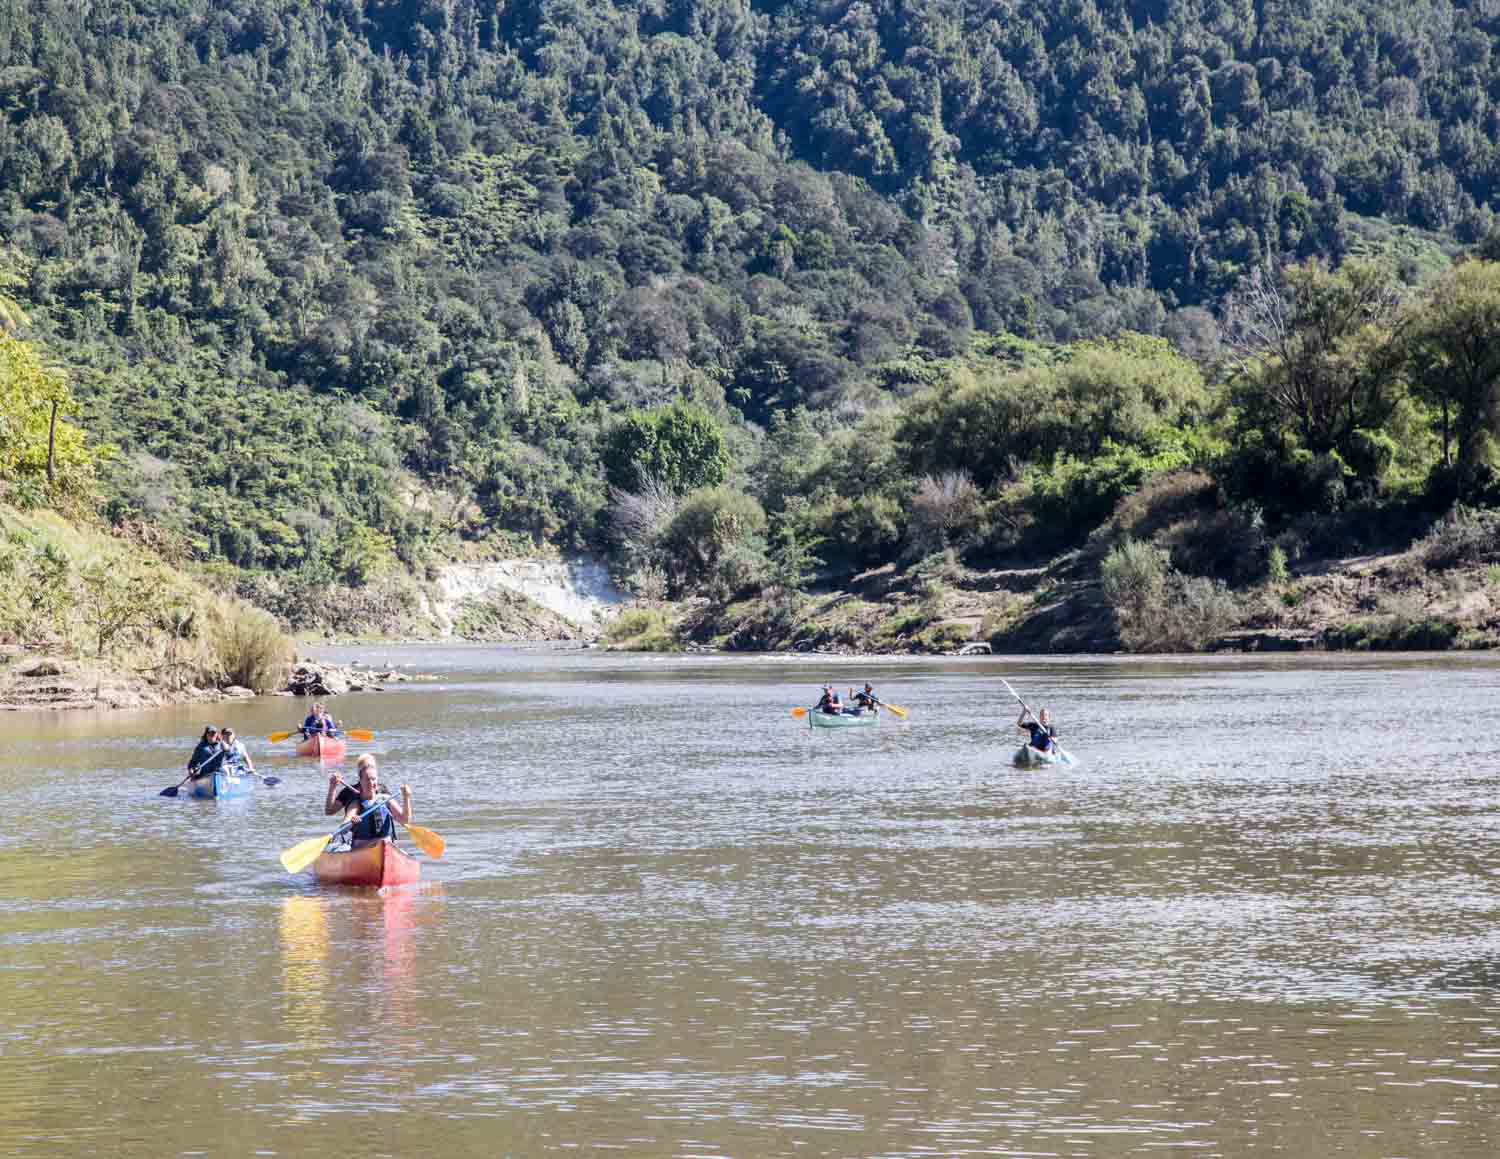
The second day may have changed recently, but when we paddled (in April 2018) there had been a huge storm that created many slips in the area.
This meant that trees had come down from the tops of the valley into the Whanganui River, creating more obstacles.
This may have changed since, but be prepared for this section to have more obstacles than the maps will show!
As you set off, you’re faced with a biggish rapid to ease you into the day!
The rest of the day will have quite a few rapids to speed you along and keep things interesting.
You pass by a lot more beautiful scenery and you feel like you are beginning to head away from civilization.
The second half of the day is the section that leads to Whakahoro and requires the most attention as several trees have fallen into the river and lodged there.
This in turn created rapids that flowed through them and – if you’re not careful – could take you straight into a tree.
You’ll need to be prepared to paddle very hard as soon as you see them.
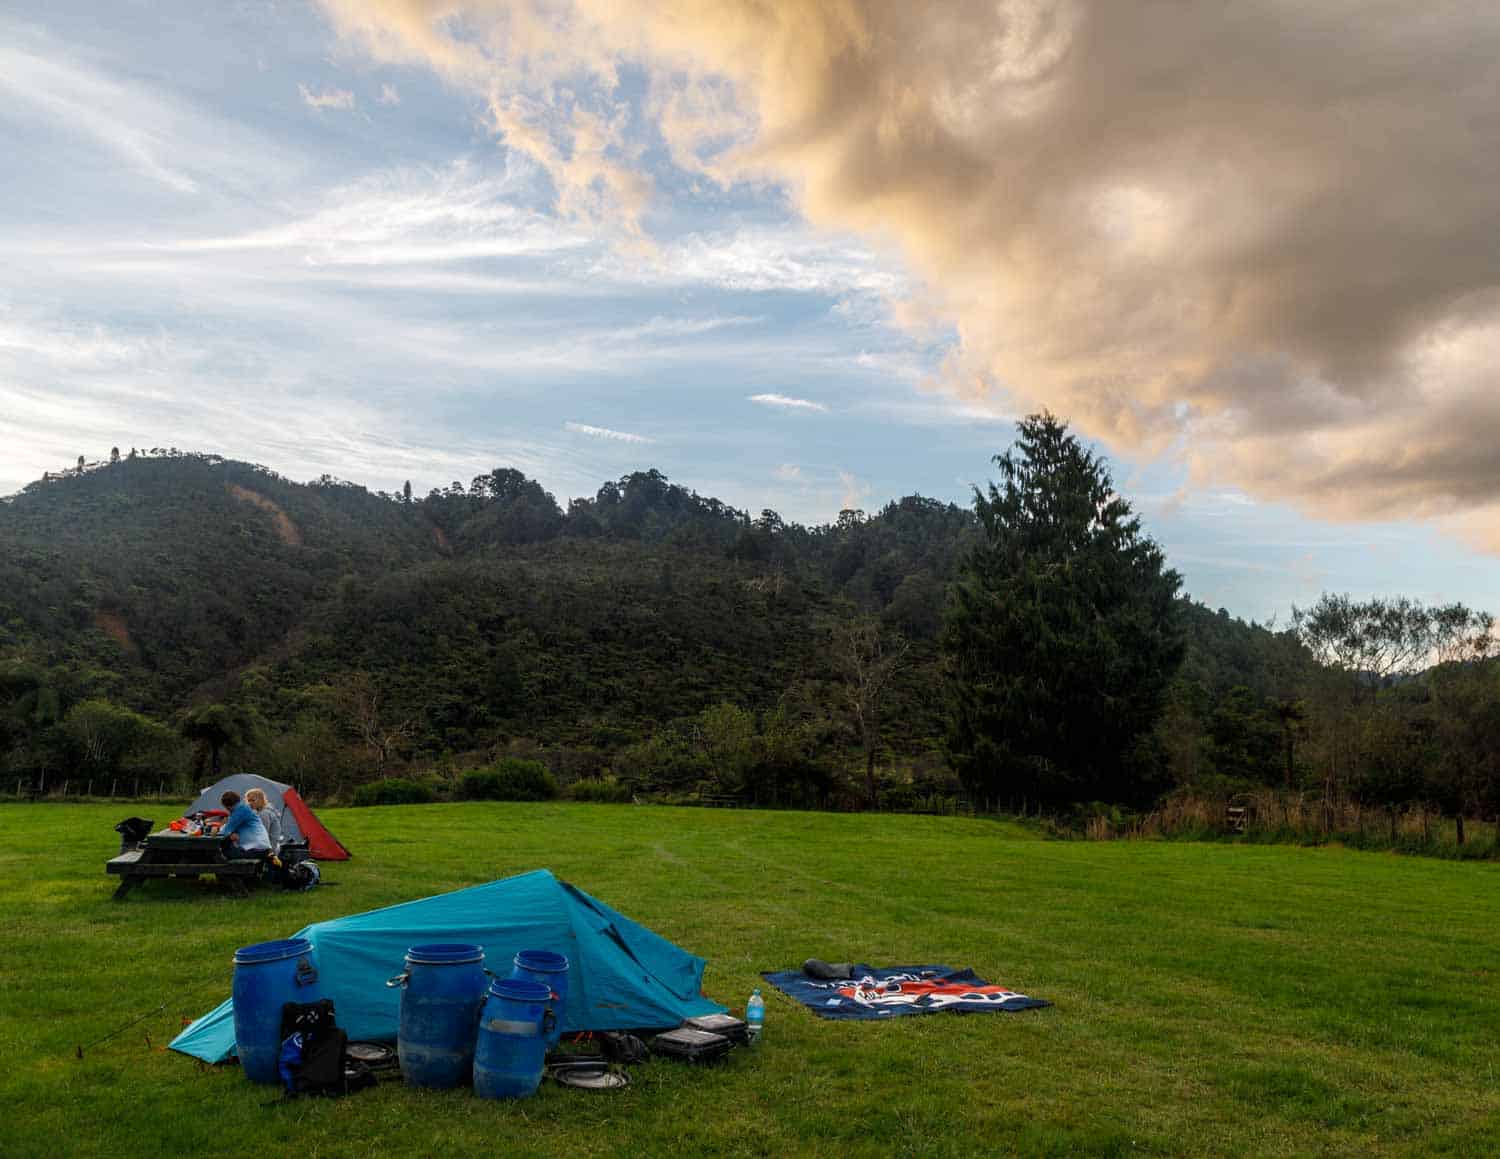
The day finishes at Whakahoro: a campsite and bunkhouse that is 400m up a steep hill!
Lugging the barrels up had just about everyone cursing the location, but once there it is a truly gorgeous spot.
However, the biggest reward is the Blue Duck Station, a guesthouse where you can pay for a hot shower ($4NZD) and dig into piping hot food (including bacon and egg brekkies) and hot drinks.
Pop along as soon as you can as the dinner (served communal style) does require booking.
It’s just a few minutes from the campsite to the Blue Duck.
The Whakahoro is the best campsite on the Whanganui Journey, set on the top of a cliff among farmland looking down to the Whanganui River. It’s a really picturesque vantage point.
Day 3: Whakahoro – John Coull Hut, 37.5km (about 5.5 hours)
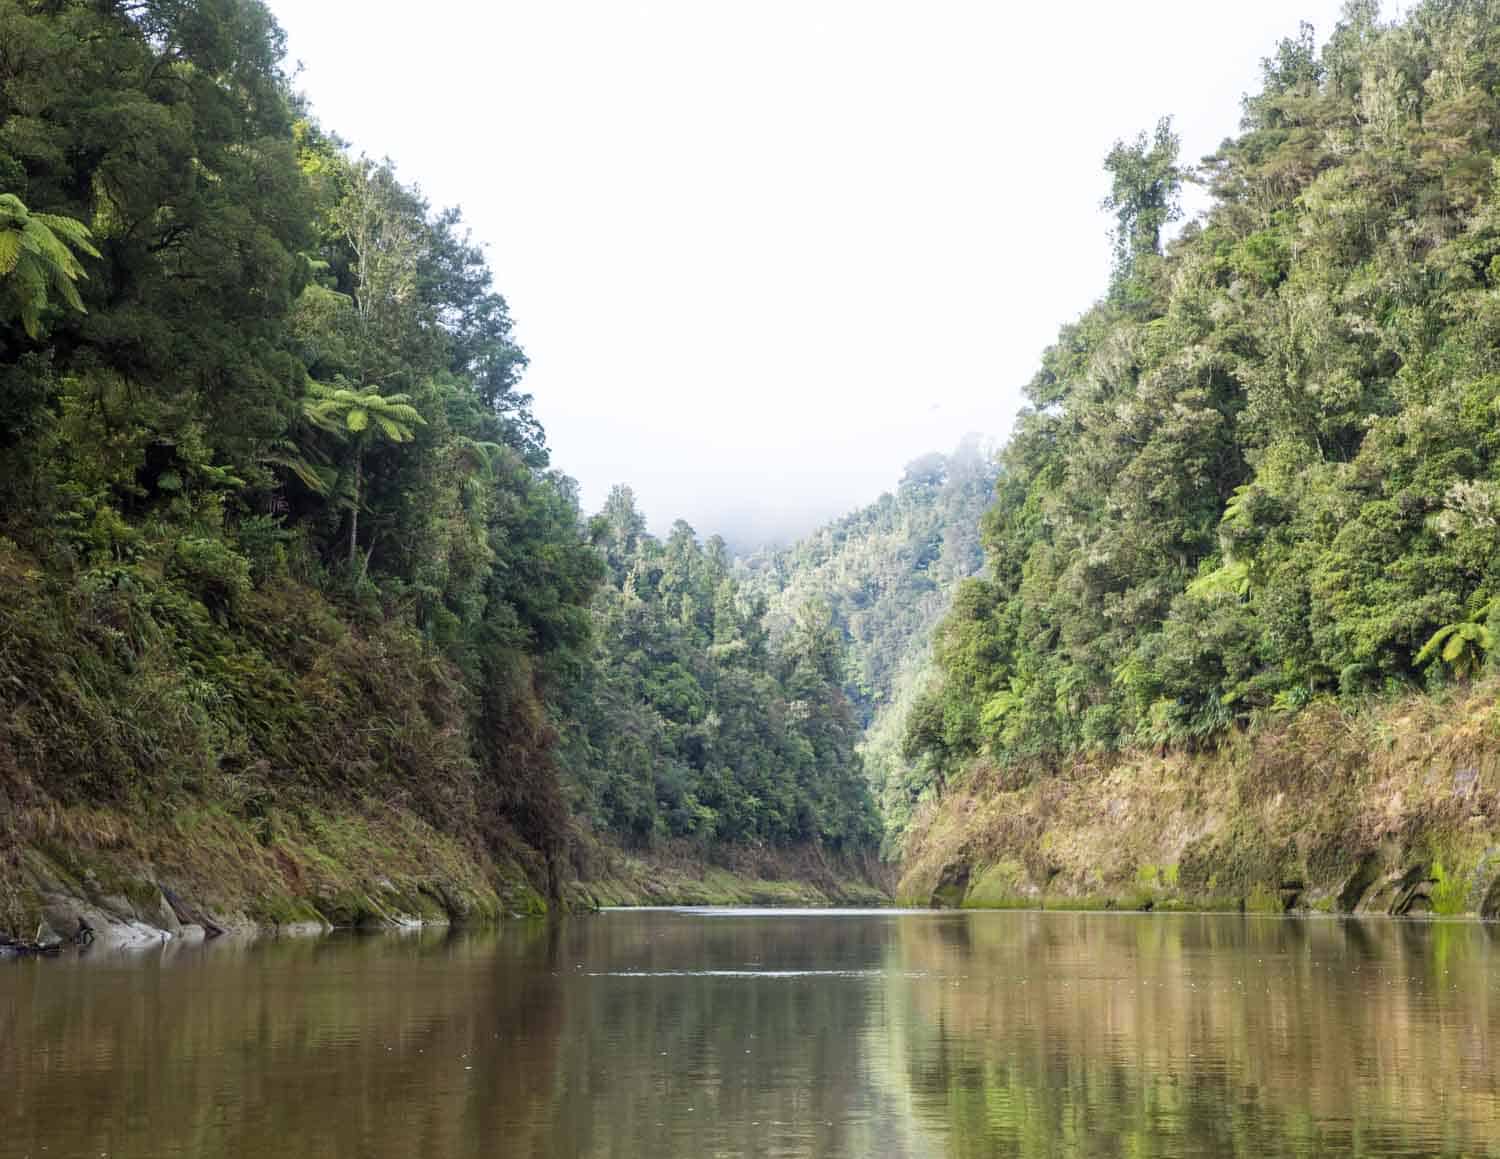
Day three is where the scenery steps up a gear as you enter the Whanganui Gorge and the start of the Whanganui National Park.
This is when all road access stops and you truly enter the wilderness of the national park.
Immediately you’ll be dwarfed by huge cliffs on either side of you, the only sounds are that of your paddle and the early morning bird song.
Whakahoro is where most people start the Whanganui Journey, choosing to avoid the rapids of the first two days.
However, those rapids were good training for what will be coming on day five!
The section from Whakahoro to John Coull is not just very picturesque, it is also an incredibly calm section of the river.
At points we chose to stop paddling entirely, drifting in complete silence and taking in our surroundings in the national park.
If you’ve had rain there will be plenty of waterfalls on this stretch.
The only obstacle to navigate is a whirlpool that aims to propel you into a cave!
So long as you paddle hard and wide, you’ll be ok.
We tried this and cleared it safely (well, apart from being spun backward).
As the river is very still, day three requires a lot more paddling and effort than the first two.
It is only when you have a completely still river that you realise how much the fast-flowing rapids actually helped!
This is the first point that you can choose to stay in a hut rather than camping.
Want another paddling adventure? Check out our post on kayaking in Abel Tasman National Park!
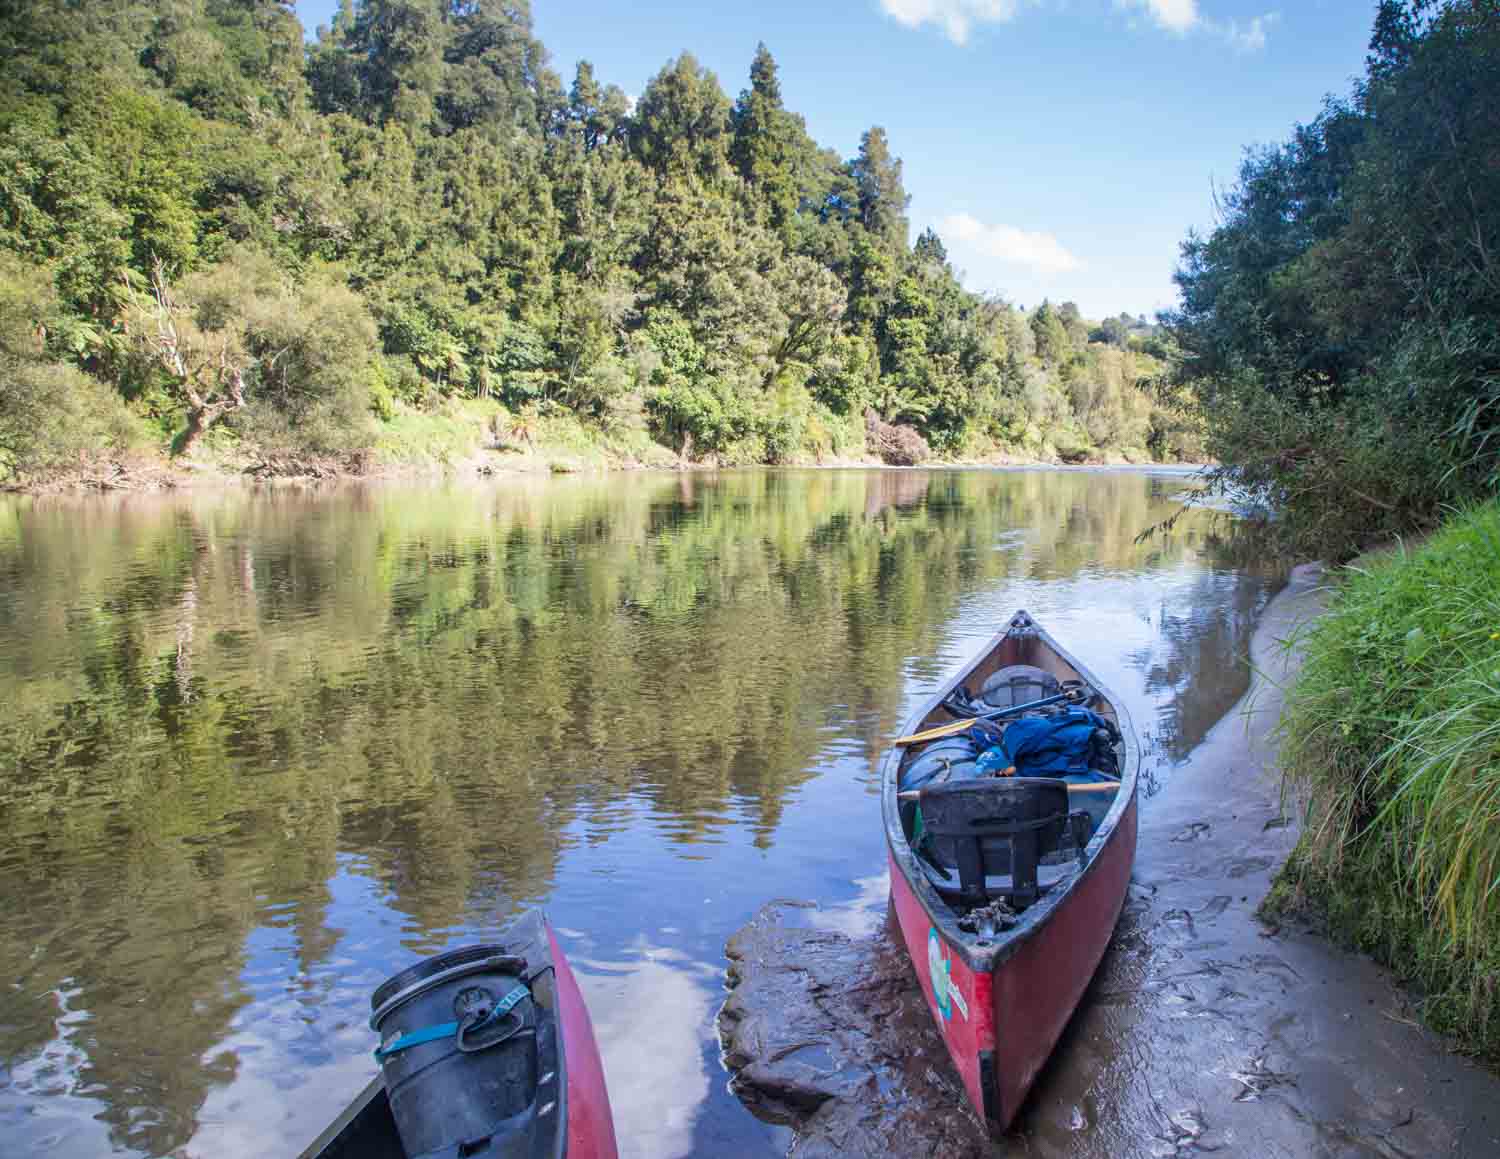
Day 4: John Coull Hut – Bridge to Nowhere Lodge, 29km (about 5 hours)
Day four was our favorite day of the whole Whanganui Journey.
There’s a chance to stop at the mysterious Bridge to Nowhere, the scenery is stunning and if you decided to treat yourself, there is the Bridge to Nowhere Lodge (more on that later).
The day started with two hours of heavy rain (standard in NZ) paddling through the thick soupy water to the landing for the Bridge to Nowhere walk.
We’d recommend going early as this is a popular day trip in the area (you can take a jet boat to it from a town further up the river), so you’ll want to avoid the crowds and be able to find mooring for your canoe.
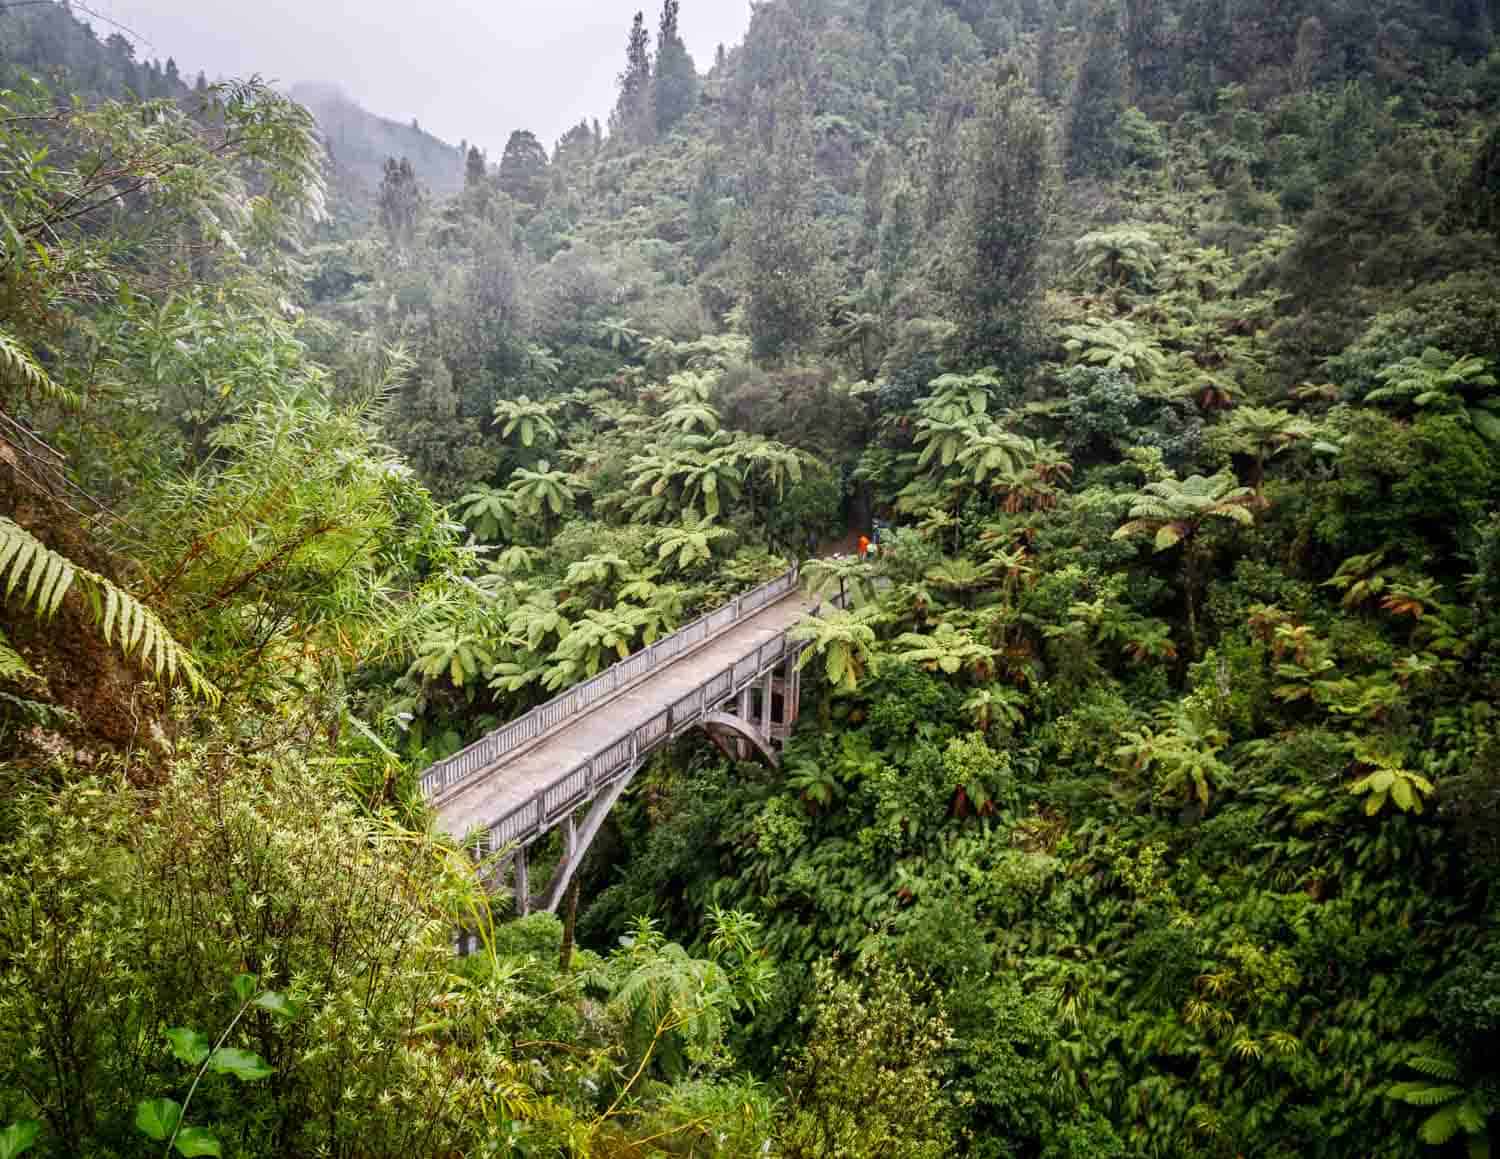
After a short walk, you’ll get to the Bridge to Nowhere –quite literally what it says on the tin. It’s a remnant of a project to bring access for vehicles to the Whanganui River and aid the building of a settlement for returned soldiers from the First World War.
However, the land was not conducive for farming and settlement, and it was abandoned.
The bridge remained, it’s now covered in ferns and regenerated bushland.
It’s a really spectacular sight and not to be missed.
You can walk across it or take it in from the viewpoint above.
We really enjoyed getting out of the canoe and exploring this area.
Just make sure you bring some shoes that do well in mud. Flip-flops would be tricky along this path after rain.
After the Bridge to Nowhere it’s a gentle three-hour paddle to your accommodation for the day.
If you go with the DOC choices, you can camp or stay at a traditional Marae.
Here you can experience a glimpse of the indigenous culture of New Zealand.
Whether you get a traditional Maori greeting depends on their plans for the day, it didn’t happen on our trip, but we’ve heard it often does.
On the opposite side of the river is the Bridge to Nowhere Lodge.
Tucked on the top of a hill, this place has a stellar view.
But even better, it has hot showers, private comfortable bedrooms and – best of all – a bar!
After four days paddling, we thought a glass of wine was well deserved.
You can also get a homemade dinner (we cooked for ourselves as the dinner was pricey) and breakfast.
It was pure bliss.
There’s a lounge with board games and books to read so it could be quite a social place depending on who’s there at the time.
Day 5: Bridge to Nowhere Lodge – Papriki, 21.5km (about 4 hours)
The final day of the Whanganui River Journey is a short stretch of river before hitting the two roughest rapids of the whole journey, and the ones that throw out 50% of people who attempt them.
The day starts out on calm river again, before reaching Ngāporo where the first big rapid is.
The rapids are just before the campsite and you can choose to plow straight through the middle for the ultimate adventure or round the outside for the least chance of capsize.
It’s not long before you hit the second rapid.
We watched two really keen canoers go head on into the rapid, and were soon tipped out into the river!
Having lost to the rapid they swam to catch their canoe and spent the next five minutes bailing water out, they were in the unlucky 50%!
Once more, you can choose to go through it, or paddle wide and through the safer section.
There’s a final rapid that is just before the landing at Pipriki and is another fun one to navigate.
If you do it right, you can get propelled to the finish, barely having to paddle!
By the time you arrive at Pipriki you’ll have paddled 145 km of the Whanganui River through the beautiful New Zealand countryside.
The Whanganui River Journey is an epic adventure, and one we loved the fact you are able to go it alone without a guide.
Don’t miss this canoe journey and the most unusual of the Great Walks of New Zealand.
If you haven’t quenched your thirst for Great Walks, you can attempt the Tongariro Northern Circuit which is only 30 minutes away. This is a Great Walk through volcanic landscape and incorporates the Tongariro Crossing – which has been described as one of the best day walks in the world.
